TheiaVu® TV-250
TheiaVu® TV-250 assists quality control professionals to save a significant amount of time while obtaining more precise and repeatable measurement data to improve their production processes. Because some quality parameters are difficult or impossible to quantify using manual methods they are not considered as part of the criteria during quality checks. TheiaVu® allows you to perform these measurements at a fraction of the speed and with a great deal of precision compared to manual methods. The TV-250 is best suited for applications that do not require washdown.
Better Measurements, More Measurements
Benefits
- Perform quality checks faster and with better repeatability
- Know more about your product compared to manual methods
- Ensure consistent product quality from batch to batch
- Cost savings through reduced labor and waste
- Brand protection
- Save time with reporting, all results are saved & organized
- Achieve competitive advantages
Features
- Powerful: Quantify product features difficult to measure manually
- Automatically collects critical product data
- Easy to use operator interface
- Fast: up to 10 objects/second*
- Versatile: Can be used in lab or production area
- Flexible: built-in library with 100+ measurements and growing
- Measure products up to 914 mm (36 in long)
*Actual speed will depend on the size of object and number of different measurements per object.
Applications
Measure Quality Where It Matters
Used in the lab or at-line, TheiaVu® systems produce critical measurement data on final products or at various stages throughout production for both quality and process control.
Typical Applications Include:
- Incoming Inspection: Inspect raw materials quality, such as fruits, vegetables, dough, and more
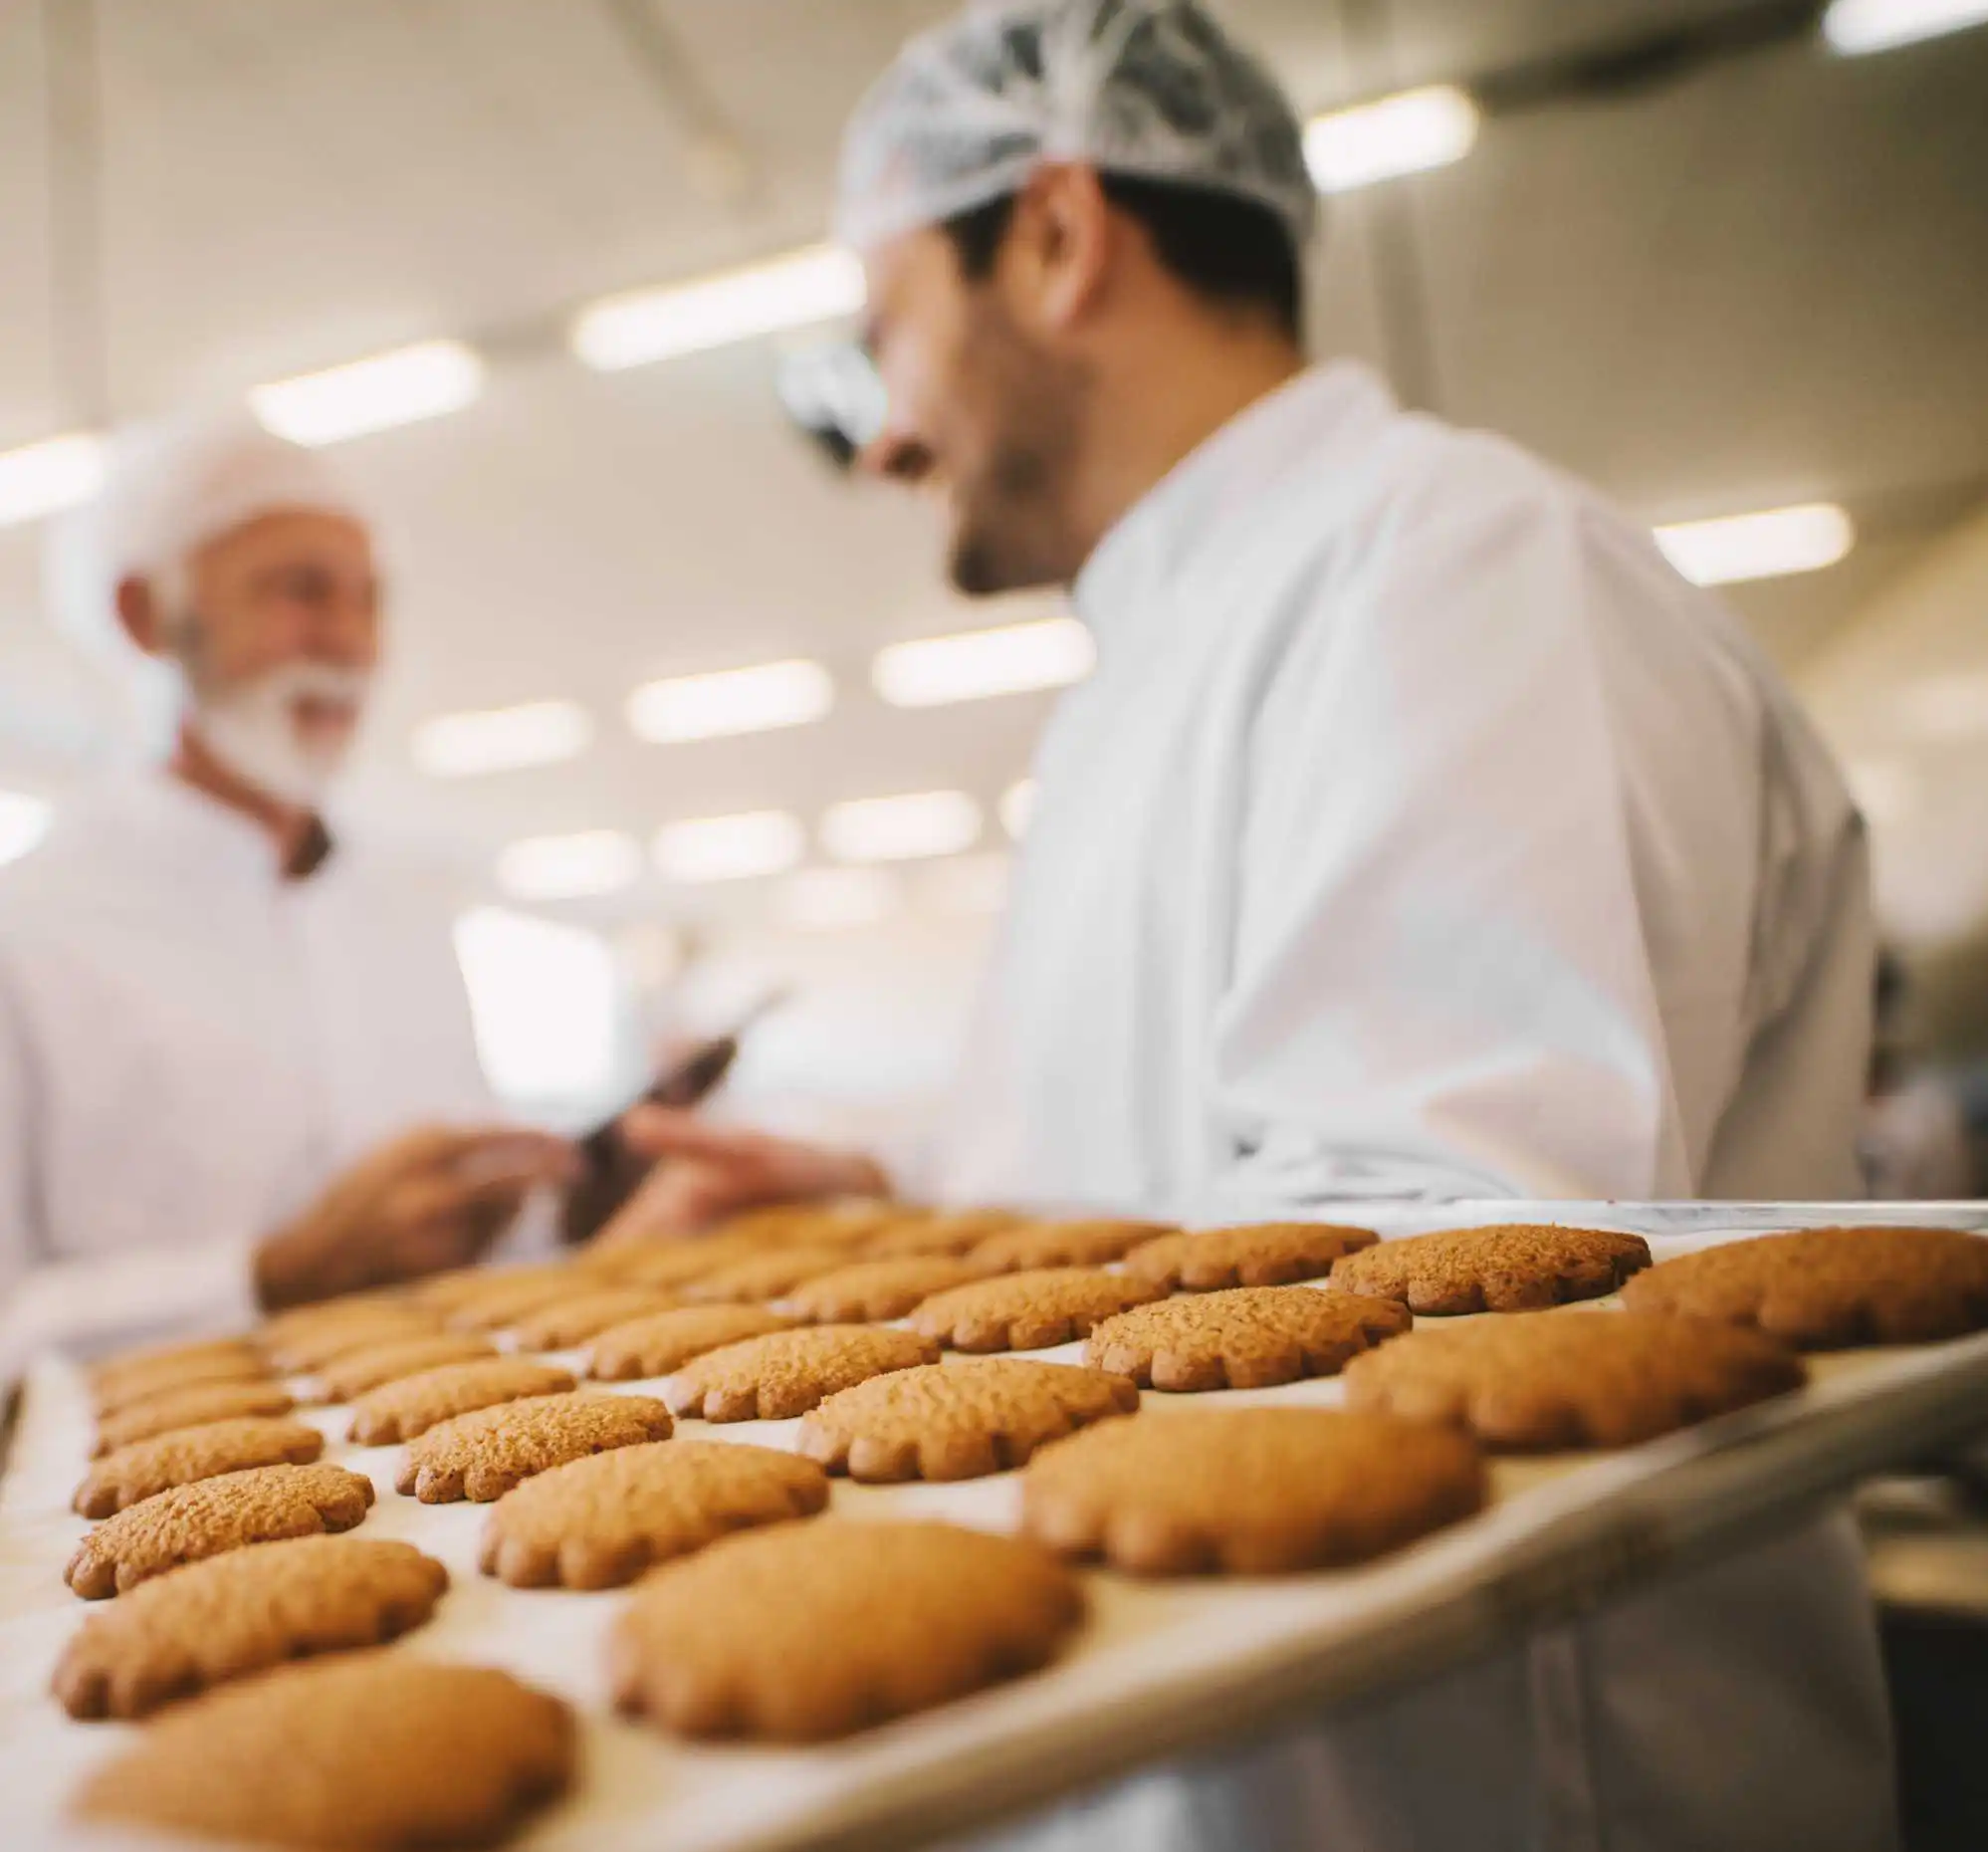
- R&D: For bakeries or ingredient producers, quantify the baked goods fresh out of the oven based on a new formulation or a new ingredient (can also be before baking, during proofing, etc)
- Process Improvement: Quality sampling at every stage of production provides teams with the data they need to improve processes
- Quality Control: Before packaging, inspect final products or works-in-progress for quality control
- Program Development: Assistance with creating standards for quality assurance programs
- Training: Use the TheiaVu® for training staff on in-line or over-line systems, it operates on the same user interface
Finished Product Examples:
- Bread Products (loaves, baguettes, buns, bagels, english muffins, croissants, muffins, etc)
- Cookies, crackers, biscuits
- Snack Foods (snack bars, pretzels, potato chips, French fries, desserts, chocolates, candies, etc)
- Cheese Products (blocks, snack pieces, wax covered, etc)


Common System Configurations
Communication Throughout the Process
Vision-Based Lane Balancing
How It Works
Compact Machine Vision for Quality Control
TheiaVu® vision inspection systems, also referred to as machine vision systems, use a selection of high-speed cameras, a laser, and imaging software to detect and measure objects as they move along the built-in conveyor belt.
Our proprietary measura® software suite and measurement algorithms can determine the size, shape, color, or composite measurement of any object and convert this information into standard units for quality control purposes. Results are displayed in real-time and data for every object is saved for future analysis and reporting.
To Inspect a Product:
- Power on the system
- Select the desired measurement profile using built-in operator interface
- Place the object on the moving conveyor belt
- Instantly view the results on-screen
You can continuously feed multiples of the same product onto the belt without resetting the system and all data will be saved. There is no need for manual note taking or spreadsheets.
Product profiles are easy to adjust or create using the measura® Toolbox module (included). All you need to do is enter your specifications and save. Next time you load the profile, your changes are applied.
System Components

Lighting
All TheiaVu® models are deployed with efficient white LED for accurate color measurement.
Camera Options
The TheiaVu® TV-250 is delivered with:
- 1, 2D full color camera with resolutions of approx. 0.2 mm/pix (resolution varies by conveyor width)
- 1, 3D monochromatic profile camera (works with a laser source for 3D profile)
Other Components
- Stainless steel conveyor ensures fast sampling and low maintenance
- Integrated and adjustable system touchscreen allows for easy operator interaction
- Accessible USB and network connectors allow for easy connection of peripheral devices
- Plugs directly into any standard electrical outlet (120/220VAC)
Measurements
A LARGE MEASUREMENT LIBRARY, AND GROWING

Software
Powerful And Easy to Use measura® Software Suite
The easy-to-use measura® software suite includes a built-in library of over 100 different types of measurements and configurable camera and lighting components for different product needs. The software simplifies the inspection process from product set-up and real-time inspection to process monitoring and quality analytics.
measura® Toolbox
- Define your products
- Configure your measurements
- Set limits
- Interactive blob set-up
- Playback recordings

measura® Inspection
- Fast, up to 100 objects/ second
- Intuitive operator screens
- Display trends, lane data, and defect summaries
- Record data

measura® Dashboard
- Display up to 5 measurements
- Multiple display platforms
- Visual alarms
- Ethernet connectivity

measura® Analytics
- Customizable report template
- Configurable date range
- Scheduled pdf reports via email
- Exports to Excel or pdf

Specifications
Frequently Asked Questions
Related Resources


