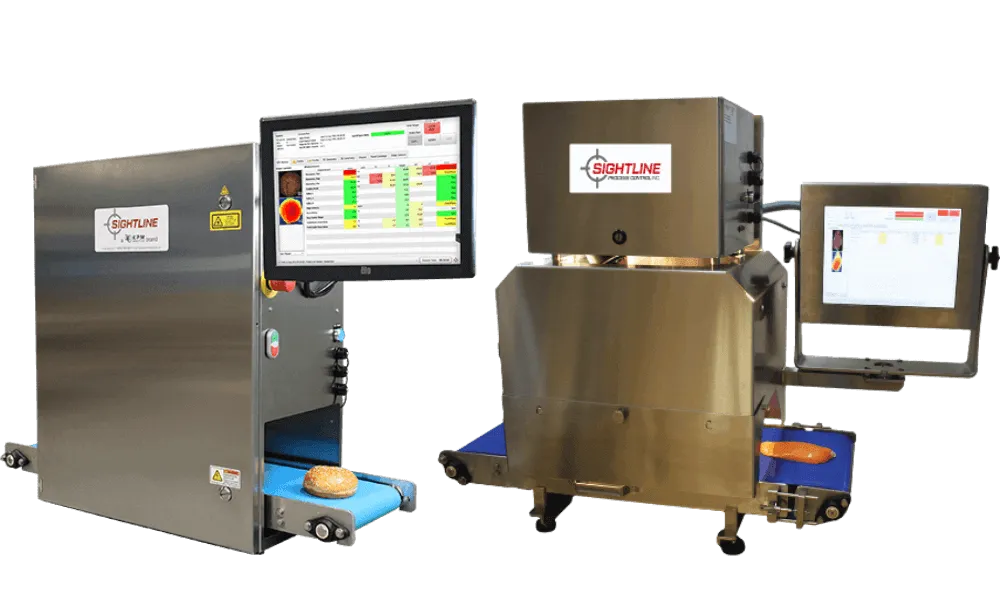
TheiaVu®
TheiaVu® Series Compact Vision Inspection Systems provide a wide variety of measurements of unique features that quantify product quality. TheiaVu® allows quality teams to save a significant amount of time while getting more precise and repeatable measurement data to improve their process. In addition, measurements that were previously not possible or realistic to measure are made available as valuable data.
A Picture is Worth a Thousand Words
Benefits
- Perform quality checks faster and with better repeatability
- Know more about your product compared to manual methods
- Ensure consistent product quality between batches, shifts, and sites
- Cost savings through reduced labor and waste
- Brand protection
- Save time with reporting, all results are saved & organized
- Achieve competitive advantages
Features
- Powerful: Quantify product features difficult to measure manually
- Automatically collects critical product data
- Easy to use operator interface
- Fast: up to 10 objects/second* (Collect more data in less time)
- Versatile: Can be used in lab or production area. Washdown version available
- Flexible: built-in library with 100+ measurements and growing
- Measure products up to 91 cm (36” long)
- Weigh scales and temperature probes as optional accessories
*Actual speed will depend on the size of object and number of different measurements performed
Applications
Measure Quality Where It Matters
Typical Applications Include:
- Incoming Inspection: Inspect raw materials quality, such as fruits, vegetables, meat, poultry, and more
- R&D: For bakeries or ingredient producers, quantify the baked goods fresh out of the oven based on a new formulation or a new ingredient (can also be before baking, during proofing, etc)
- Process Improvement: Quality sampling at every stage of production provides teams with the data they need to improve processes
- Quality Control: Before packaging, inspect final products or works-in-progress for quality control
- Program Development: Assistance with creating standards for quality assurance programs
- Training: Use the TheiaVu® for training staff on in-line or over-line systems, it operates on the same user interface


Lineup
Common System Configurations

TV-250 - Standard
- Conveyor Width: 229 mm (9 in)
- 2D color standard resolution camera
- 3D profile camera
- Standard LED lighting
- All food products not requiring washdown

TV-250HR - High Resolution
- Conveyor width: 229mm (9")
- 2D color high-resolution camera
- 3D profile camera
- Special LED lighting available
- Better detection of small details (~5mm - 50mm) and bread crumb structure analysis

TV-300 - Wider Belt
- Conveyor width: 300mm (12")
- 2D color standard resolution camera
- 3D profile camera
- Standard LED lighting
- Better for wider objects

WD-300 - Wipe-Down
- Wipe-Down compatible; ideal for meat & poultry applications
- 2D color standard resolution camera
- 3D profile camera
- Polarized LED lighting
- Conveyor width: 300mm (12")
Communication Throughout the Process
Vision-Based Lane Balancing
How It Works
Compact Machine Vision for Quality Control
TheiaVu® vision inspection systems, also referred to as machine vision systems, use a selection of high-speed cameras, a laser, and imaging software to detect and measure objects as they move along the built-in conveyor belt.
Our proprietary measura® software suite and measurement algorithms can determine the size, shape, color, or composite measurement of any object and convert this information into standard units for quality control purposes. Results are displayed in real-time and data for every object is saved for future analysis and reporting.
To Inspect a Product:
- Power on the system
- Select the desired measurement profile using built-in operator interface
- Place the object on the moving conveyor belt
- Instantly view the results on-screen
You can continuously feed multiples of the same product onto the belt without resetting the system and all data will be saved. There is no need for manual note taking or spreadsheets.
Product profiles are easy to adjust or create using the measura® Toolbox module (included). All you need to do is enter your specifications and save. Next time you load the profile, your changes are applied.
Measurements
A LARGE MEASUREMENT LIBRARY, AND GROWING

Specifications
Frequently Asked Questions
Related Resources
